Young MacDonald - How I made this picture - Submarine - Part 1
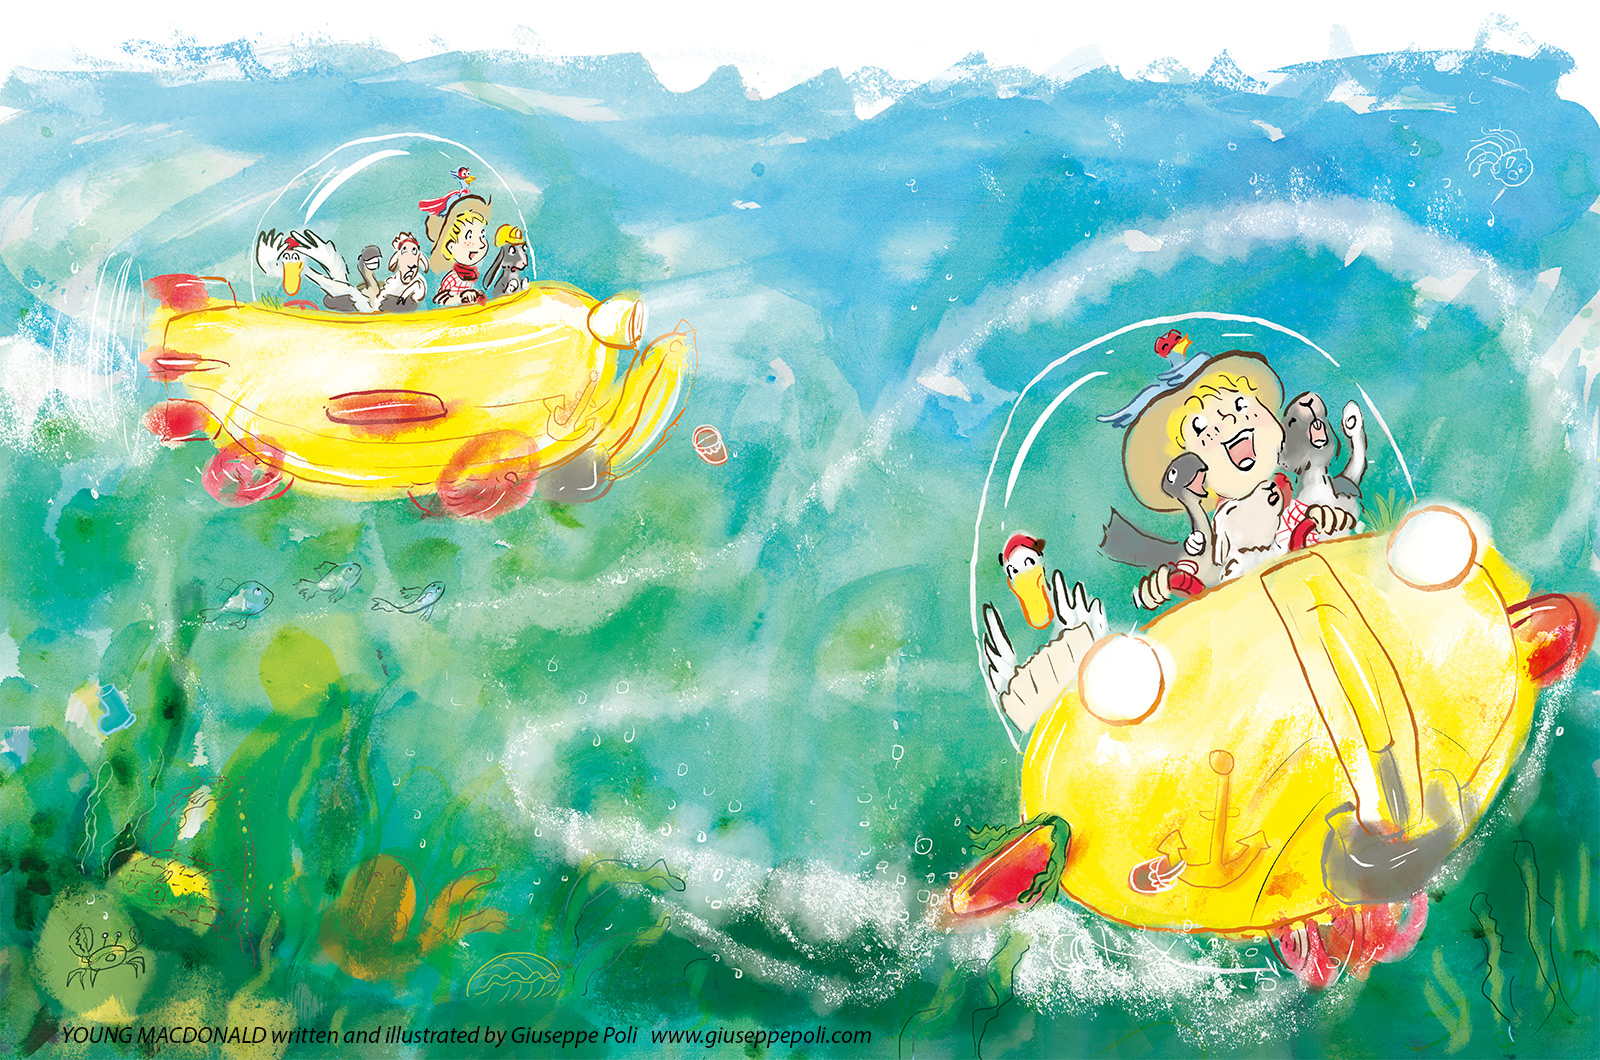
I love this picture. It’s one of my favourites from my picture book debut as an Author and Illustrator, Young MacDonald.
I’m going to share with you the steps I took to create this image. Fortunately some of the steps I’ve recorded as videos and I’m super excited to be able to have them here so you can see how long it took me and how I used my materials. Over time you'll also see how I grow as an artist. That's the great thing about creativity.... you and I and everyone can get better at it! So if you are a keen maker of things.... keep a record of what you made and what you were thinking. You'll love looking back and finding little treasures and also seeing how far you have grown.
The beginning
Most of my illustrations start with feelings.... I don’t really know what they will look like. I might have an idea of a character or a particular scene but for this page in my book I wanted to be able to share the submarine that Young MacDonald and his friends have invented and also show how they were feeling. Kids love discovery and one of the things readers will find in this book is that there is a larger story happening for Young MacDonald and friends that is not mentioned in the words. You can see that when you look closely at the faces of the characters. This scene is a turning point for one of them :-)
Art is about decisions. So I’ll continue to share my thought process as I made this part in my book.
Q - How am I going to fit the text and submarine and characters on this page?
A - Well... what do we want to feel on this page?
A - Um. This is the first time we see the submarine so we need to have lots of fun with that reveal. We also need to feel what it’s like to be in a submarine underwater and the sound it would make. We also need to fit the text in.
At this point in making the book, I was purely focused on quickly capturing ideas to see how the whole book would feel. I wasn't concerned about details.... just about feelings... especially how it would feel to read the page before, turn the page and see this page and then turn on to the next page.
It's interesting to note.... I had no intention of publishing this book when I made this. It was purely to create a story from a desire and personal challenge to make something fun that my 2-3 yr old son would love to read.
A number of years later a publisher was very keen to make this into a real book and so now I had more questions.
Q - That previous image is very rough. What is the final image going to look like?
A - Well that depends on what the whole book will look like... which is a daunting question. Let me just think about this page and start with this. I can change it later.
As the development of the book progressed I realised that I wanted to bring more to the story without changing the words.
Q - How can I make this image deliver what I now want in the book?
A - I need to see the submarine.... but I also need to see their faces. We see the submarine first on the right page so I'll make the submarine bigger in the left page so we can get a closer look at the characters. I'll also just show the front of the submarine because then we are looking directly at them and I can also fit the submarine on that page because the submarine is too wide.
This pencil drawing is still very rough. I knew that I was going to use black ink and a brush to paint the outlines and after some (actually lots of) previous experiments I found that I didn't need to make all the decisions in my pencil drawing. I also knew that I was happy with these sized pictures and that the text would fit around them on the page.
Below is a realtime video of how long it took me and how I used my pencil drawing and a Lightbox to paint the outlines onto a new piece of paper. I'm not using any special paper here because I know I'm going to scan them in to the computer and I don't feel I need any extra texture in the brush strokes.
Q - So what does it look like now! Show me, show me. I need to see it to know if it still feels good.
A - Ok ok. It's coming... just do the work.
Now that I had painted the ink outlines, I scanned them into the computer and placed the text in. Here is what it looked like. This was a fun discovery... especially as I had progressed drawing the ink outlines for the pages that I had answers for. For some pages in the book I was still unsure. Fortunately for this page, I was.
Q - ...but I need to see it colour!
A - yes yes. That's coming.
Colours create feeling. I already had some strong thoughts about the colours for this page. It was going to be full of colour and I was going to have more white space on the page before and after to create impact and a special moment for the characters and readers as the story unfolded.
I'll continue this behind the scenes ... sharing another video on how I made the background and how this all came together.
Thanks for reading! Please continue to share this to all those out there who would feel that maybe they couldn't do this but would love to. Let's help them keep their dreams alive :-)
Chat soon,
Giuseppe


